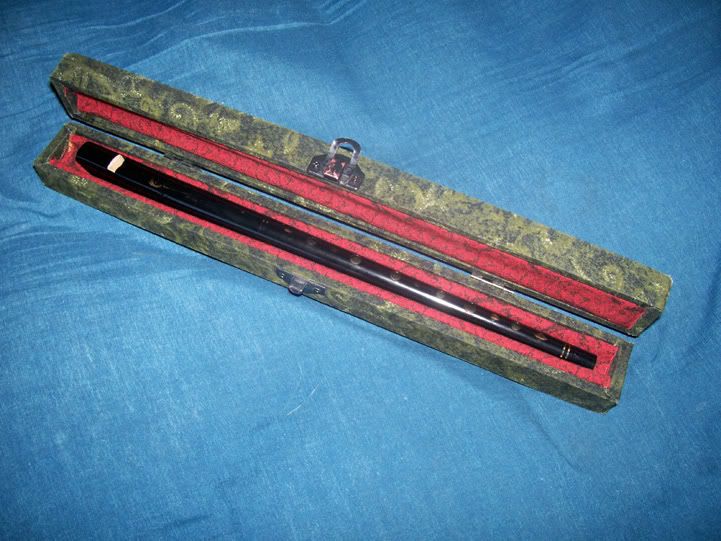
I once posted step-by-step instructions on how to make a hard case:
http://chiffboard.mati.ca/viewtopic.php?t=37021
I made a simple whistle holster for a Ren Faire, which is like a roll.
A whistle roll would be pretty easy (though, it wouldn’t be nearly as
nice as one of Annie’s).
You could just take two pieces of cloth, let’s call them A and B:
A will be the outside of the roll and B will be the inside.
A should be wide enough that you can line up your whistles on it
with about an inch in between each whistle, plus leave a little
material for a flap. B should be twice as wide as A. (I’m making
these measurements up, erring on the side of caution. Some
leftover material should not surprise you.)
A should be taller than your tallest whistle, obviously. B should be a
little shorter than your whistles, depending on how much of the
mouthpieces you want visible. If you have a wide range of sizes,
you may want to cut the top side of B on an angle so that the all the
whistles will have an equal amount visible when they are in their
pockets.
Now, place A on a flat surface and hold it taught with something.
You can put weights on all four courners, or pin the corners to an
ironing board, or something. Place B on top of A so that the left and
bottom edges line up. Pin the left edges together. Lift up B, and put
a whistle in on top of A so that it touches the pinned left edge, then
let B drape over top of the whistle. Pin B and A together so that B
makes a pocket that the whistle can slide into. Make sure that B
takes up most of the slack. You want A to stay pretty flat. Now, put
the next whistle down and pin down another pocket. Keep this up
until you have all the pockets you want (make sure there’s some of
A left over on the right side for a flap when you roll up the case.)
Once all your whistle pockets are pinned, remove all the whistles,
and cut the excess material off of the right side of B only.
Now the fun starts. If you have a sewing machine, this won’t take
long. But, you can do it by hand. Sew B to A along each of the
pinned lines to hold the pockets together. Put lots of extra stitches
at the top of the pocket, because that will get the most wear.
Now, gather the bottom edge together as best you can and stitch it
strongly (I’d use a blanket or buttonhole stitch here, or anything that
knots itself with each pass.) Now, you have what is probably an ugly
but functional roll! Put some whisltes in it, roll it up, get some kind of
latch or button or string to hold the flap when you roll it up, and
you’re in business…
Y’know, good grief… just buy a Sassafrass.
![]() )
)
